This is an old revision of the document!
Add pictures
It is the same procedure for the insertion of pictures into pages or articles:
step 1:
Login at the administration page of the blog: http://blog.stud.uni-goettingen.de/deinblogname/wp-admin.
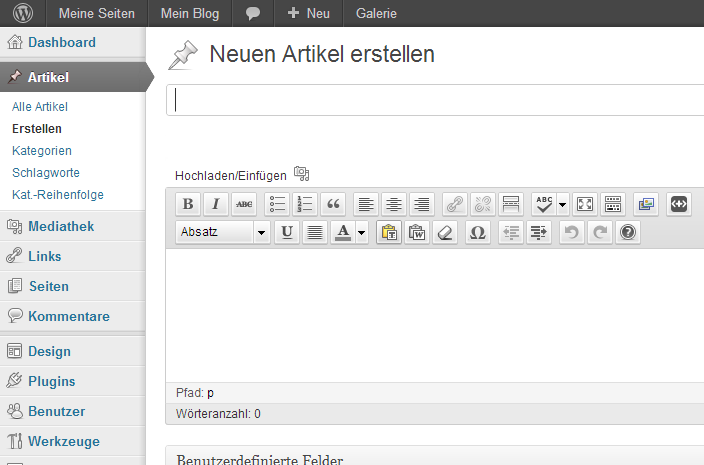
step 2:
At the menu item “Artikel” (“article”) or “Seite” (“page”), click on “Erstellen” (“create”).
step 3:
Click on the little symbol next to “Hochladen/Einfügen” (“upload/insert”).
step 4:
The following popup window appears:
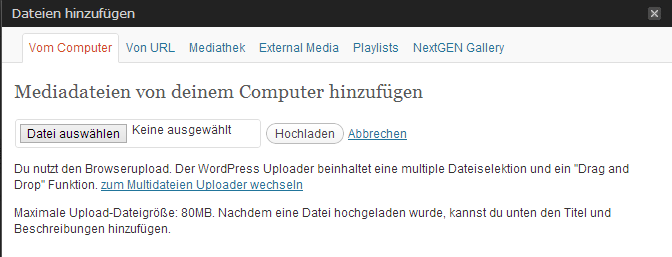
step 5:
There are different possibilities of how to upload your image:
5a. Upload „from your computer“:
- Choose the file and click on the button “Hochladen” (“upload”).
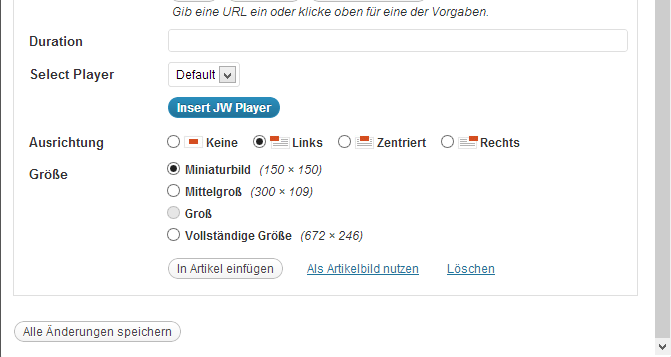
- After inserting additional information about the image (optional), click on “In Artikel einfugen” (“add to the article”).
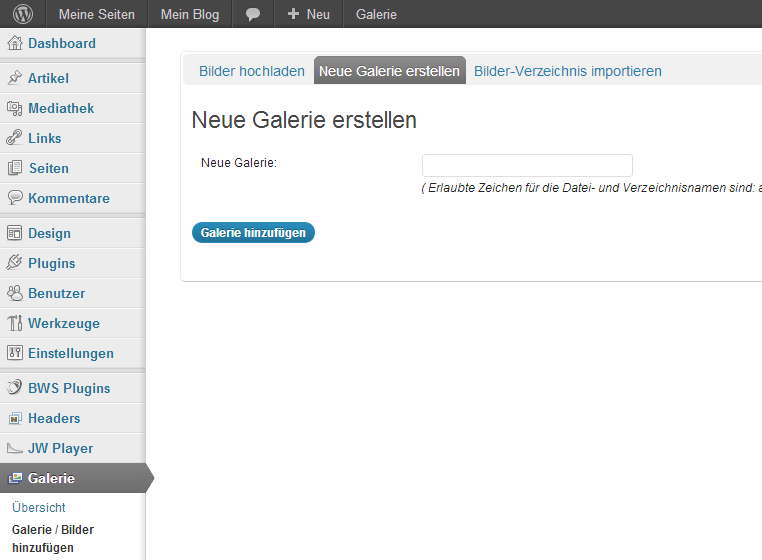
5b. Upload from the NextGEN Gallery:
NextGEN Gallery has an own menu at the administration interface, where you can manage your pictures. Before they can be added to the pages or articles, they first need to be uploaded via the following menu:
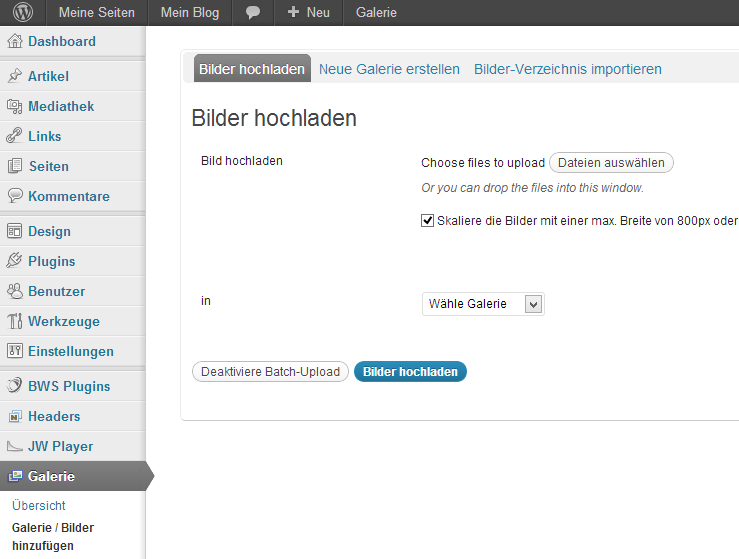
- At the menu item “Galerie” (“gallery”), click on “Galerie/ Bilder hinzufügen” (“add gallery/ pictures”).
- Create gallery: insert description, click on “Galerie hinzufügen” (“add gallery”).
- Choose the respective files, then click on “Bilder hochladen” (“upload pictures”).
- Choose the respective gallery and click on the button “Wähle” (“choose”): All pictures of the gallery will be displayed.
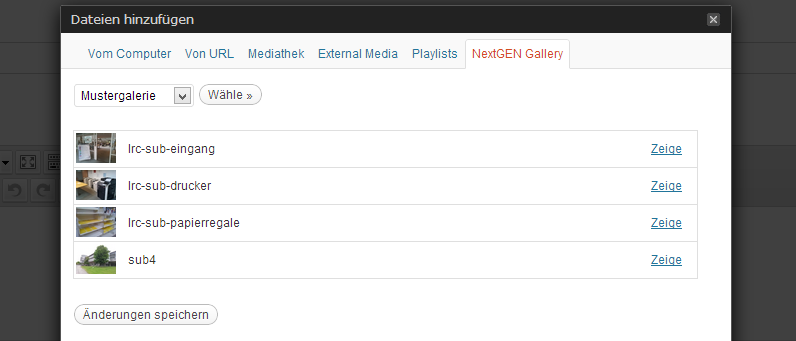
- At the desired picture, click on “Zeige” (“show”).
- After inserting additional information about the image (optional), click on “In Artikel einfügen” (“add to the article”).
If you want to add all pictures into your article or page, just insert the following code into your article or page: [nggallery id=x]
You can find the ID in the menu item “Galerie” (“gallery”) ⇒ “Galerie verwalten” (“manage gallery”).